Showing posts with label images. Show all posts
FREE VINTAGE THANKSGIVING IMAGES TO DOWNLOAD
Hello everyone!
I have a link up on my Facebook page with some free vintage Thanksgiving images for you. Here it is:
Vintage Thanksgiving Images Download Link
Hope you'll enjoy making your wonderful creations with them. Be sure to share photos of your projects when they are done. I'd love to feature your work on this blog.
Cheers everyone and Happy (Canadian) Thanksgiving! I am very thankful for all of you!
Joanna
How To Be A Production Artist - Part 1
![]() |
| Original Art - "I Am Here" |
I am often asked about my techniques for being a production artist so I thought I'd share some of my strategies here with you.
As an artist who has a full time job too (and a life, occasionally), it's really hard to carve out much time for my art, let alone make that scarce time really efficient and get the most out of it. Fortunately, many many years ago now, I figured out how I could make the art that I did have time to create (and sell) go further, thus giving me much more satisfaction in what I was able to achieve. I already resent that I can't spend all day making art, so I am very grateful for discovering this process. I am sure there are many other production artists out there who have different ways of making their art go further, these are just a couple of examples of what I do.
First, here's a photo of an original piece of art called "I Am Here." It is 3" X 5" on canvas.
![]() |
| Original Art "I Am Here" |
I scan each and every piece of finished art, assuming it will fit on my scanner bed. Since I usually make pretty small art, it is not a problem. Scanning gives me excellent quality images, far better than any camera I have ever used.
This piece was scanned three times, each at 300 DPI. I scan at 100%, then 50%, then 25% and end up with three JPG files. I then copy the 25% JPG file to create a fourth file onto which I put my copyright watermark. It is this fourth image that appears in sale listings or here on my blog or on my Facebook pages. I never put any art online without a copyright/watermark on it because I have had so many of my art images stolen over the years. At least with a watermark on it, if someone steals it they are going to have to do a bit of work to clean the image up before they can make pirated copies.
Now that the image has been scanned, I can play with it however I like. I often work in Microsoft Publisher for this step. It is a super easy program to use and gives me great results. I use it mostly for final layout and printing. The other program I use is PhotoShop, but I am not very proficient at it. I just play around in it once in a while to see what effects I can create.
In this first example below, I have taken the "I Am Here" image and used some of the tools in PhotoShop to blur the background a bit and move the colors around and play with the brightness. If you take a close look you can see how it's a bit different from the original. I saved this JPG as yet another version of the original, so I now have five copies of the image. Then I imported copy number five JPG into MS Publisher and sized it to print two copies (each 5" X 7") on an 8.5" X 11" piece of paper and printed it on a color copier.
![]() |
| Image Manipulated With Various PhotoShop Tools |
After cutting out the two images, I did some journaling around the heart in black permanent marker. I also did some stacked journaling in white gel pen around the edge of the heart. The black marker was also used to enhance the sentiment on the image.
![]() |
| Print Of PhotoShopped Image With Journaling And Doodling Added |
I'm sure you are beginning to see the possibilities you have with these techniques. You can continue to take your images as far as you like, while always keeping the integrity of the original image for future use. This particular piece will probably end up glued into one of my art journals and have some more collaged elements added to it. Who knows??
I'll post some more examples of this and other production techniques in the coming weeks and months. I hope this post has given you some food for thought about how you can make your valuable art time go a lot further.
As always, if you have any questions about my processes, I am always happy to help out.
All the best, my friends.
Joanna
HOW TO USE Vintage Images In Your Art Journal Pages
My artsy friend, Kristie Sloan, over at Artful Adventures, has some great ideas on her site for those who are new to art journaling.
Above is a photo from one of her posts that incorporates my vintage beach images.
Here's the link to her post:
Artful Adventures Tutorial
VINTAGE BLACK & WHITE CLIPART on my Facebook Page
Hello all;
I've just posted a small collection of vintage black & white clip art on my Facebook page. You are welcome to visit the page and download these images to add to your own collection. I'll be adding to this photo album from time to time, so feel free to check back to pick up the latest images.
Here's the link:
Vintage Black & White Clip Art
Enjoy!
FREE Grungy Backgrounds To Download
Here are some interesting grungy, rusty images I've had in my collection for a long time. I thought I would share them with you in case you'd like to use them for your own artsy projects.
Just right click on each image and save them to your own computer. If you feel like sharing what you create with these backgrounds, I'd love to see them.
Have fun!!
Joanna
Just right click on each image and save them to your own computer. If you feel like sharing what you create with these backgrounds, I'd love to see them.
Have fun!!
Joanna
Simple Collage Art Project "How To"
"The Quieter You Become, The More You Can Hear" (Lao Tzu)
Here's a really simple collage/mixed media art piece that will demonstrate for you beginners out there how very easy it is to create a beautiful collage with minimal materials and minimal cost. There is absolutely NOTHING new used in this piece of art!
I started with a piece of heavy chipboard that was part of the packaging of some appliance. It is a nice, sturdy piece and measures about 5" X 7" so the minute I saw it I knew it would make a good base for a small collage.
I covered it in a piece of scrap wallpaper. If you don't already know this, wallpaper is an excellent material for collage and mixed media art. It is very strong and can be used for a number of artsy applications. I often use it for backgrounds for my art. And it's free! You can go to your paint store and get the sample wallpaper books for free. They usually throw them out. Don't pay for the books, just go somewhere else if they want to charge you for them. You'll have a great collection of all kinds of printed backgrounds to use in many, many ways.
To cover the chipboard with the wallpaper, I cut the paper larger than the chipboard allowing about an inch extra all the way around. I will usually use white glue (Aleene's is my favourite), spread evenly on the chipboard and wrap the wallpaper around the chipboard, mitering the corners of the paper for a nicely finished edge. Burnishing or running a brayer over the front side, helps to ensure a smooth surface to work on later. Turning the piece over, I used more white glue to adhere the excess paper around the edges to the back of the piece. (See photo below of the back of the piece.)
When it's all dry, I am ready to start my collage on the front. I had found a wonderful Buddha image in a discarded National Geographic magazine and knew I wanted it to the be the focal image in a collage. Because of how it was shaped (see photo), I aligned it to the lower right. I will typically work with images this way. Whichever way they come to me, I work with that. If they must be left aligned to look correct in the context of the collage, then that is how they get placed on the background. If the bottom of the image is missing for some reason, then it will probably get aligned to the bottom of the page. I never "fight" how the image is, I just work with it. In this case, the image was a 90-degree angle (bottom and right aligned) so that determined where it would be placed.
With Buddha aligned to the bottom right, the logical place for the next image was the upper left, for balance and symmetry in the piece. Given that this was now going to have to be a Zen themed piece, I tried to keep in mind one of the main principles of Zen and that is simplicity. I knew I was not going to add a whole lot of elements to this piece so whatever elements DID make it into it, they had to have enough presence to hold their own. I used the stamped image of the sun/moon face on Gelli plate printed paper and it was a nice complement to the Buddha. I deliberately chose the bright pink paper for the face so that it would juxtapose with the muted purply tones of the Buddha image, yet still work together overall because the colors are complementary to one another (and to the background as well).
At this point, I knew that there wasn't too much else to be added to the piece for it to be done. When you are at this stage in developing a piece, it's good to step back and look at it with a critical eye. Where are the blank spaces that cry out to be filled? What more needs to be done? What areas need to be left alone? Play around with placement of your elements until it feels right.
The bamboo bits are stamped images on scrap paper, again kept to a minimum and the text was cut from a photocopy of one of my previous collage pieces from years ago. I will often recycle text or quotes over the years. There is no reason on earth to have to reinvent the wheel every time you set out to make some art. In this case, I knew the quote would be perfect so why not use it again.
And that is the whole piece. A couple of coats of matte sealant and it is ready to go. I will cover the back with another piece of recycled wallpaper so that it has a finished look. That way, it won't matter if this piece is framed or if it is displayed on a small easel. Either way it will look great!
I hope this lesson has shown you that you can get some great effects with a minimal amount of work and with low-to-no cost supplies. Start looking around and see what you can make art with. I'll bet you'll be surprised at how much you CAN do!
Have fun in your artsy adventures, my friends.
Joanna
Another CD Collection Giveaway !!
Hello, everyone! Wow! The first day of March already. Is time ever flying by. I think it's time for another CD collection giveaway, don't you?
As I've done the past couple of months on the first day of the month, I am having a draw for a free copy of one of my vintage images collections on CD. If you've seen this draw before, you'll know that these are images that I collected over the years and then scanned and organized them into collections for other artists to use too.
On this CD there are over 3,000 vintage images, all in simple JPEG format, so they are easy to use, crop, alter as you'd like in your artful adventures. You are free to use the images for any personal use including products you may sell but the collection is copyrighted (which means it can't be reproduced in whole or in part either digitally or in print to be resold).
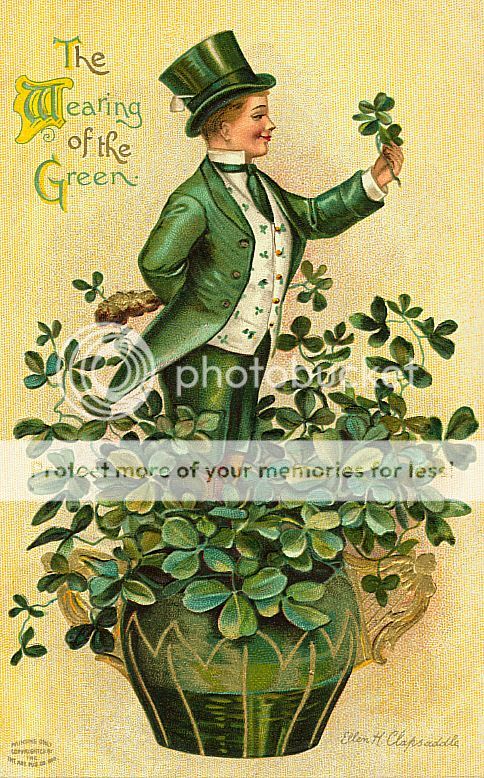
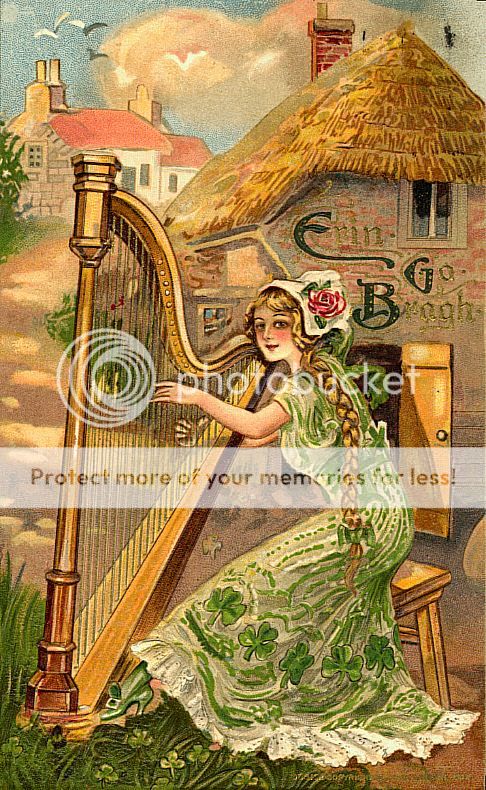
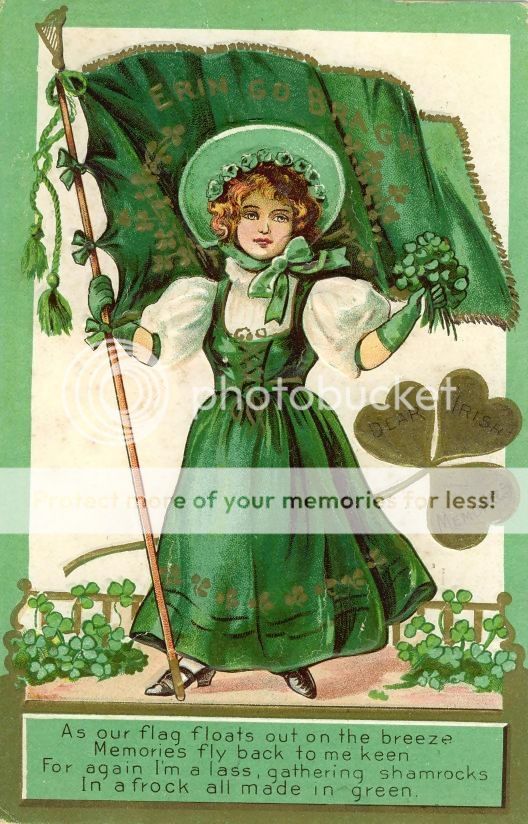
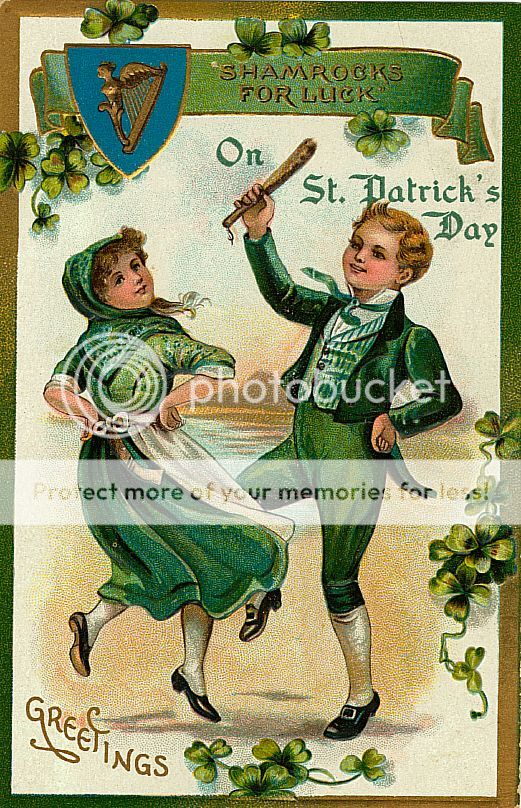
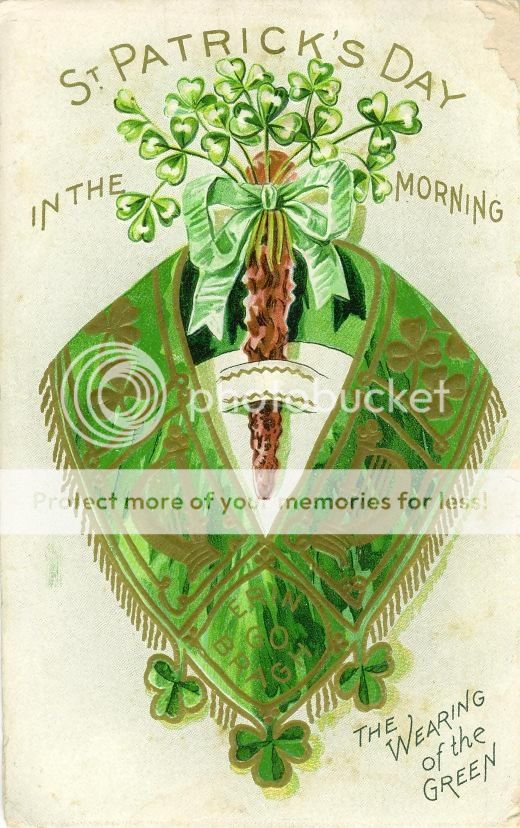
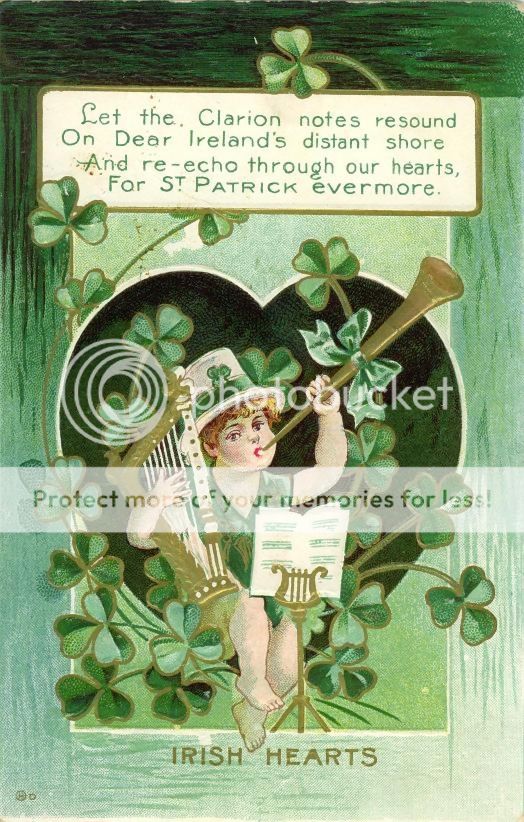
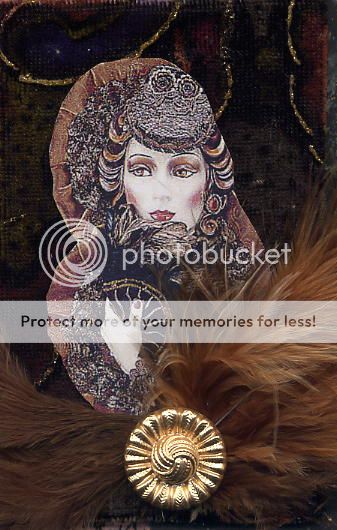
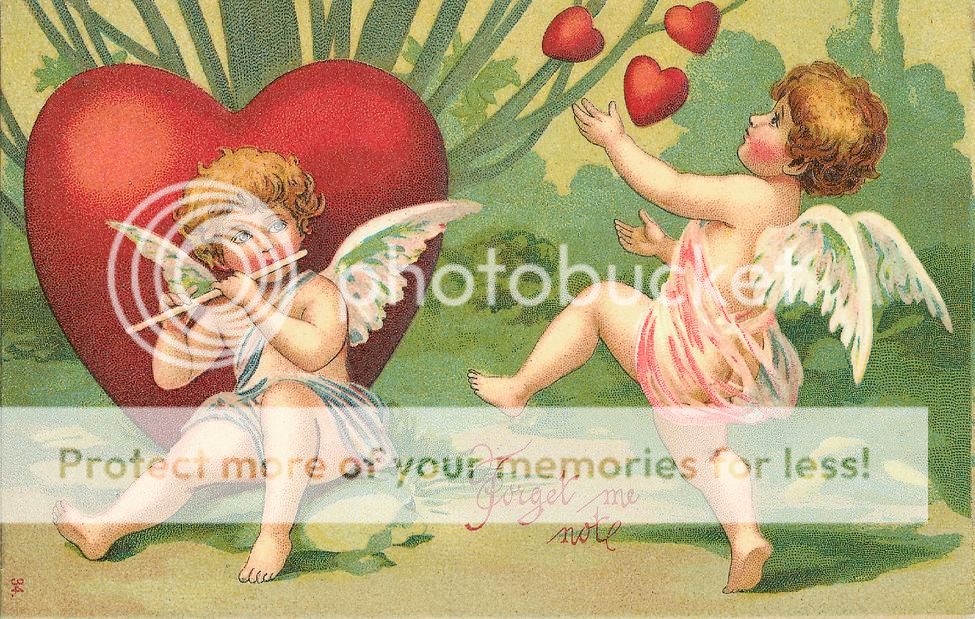
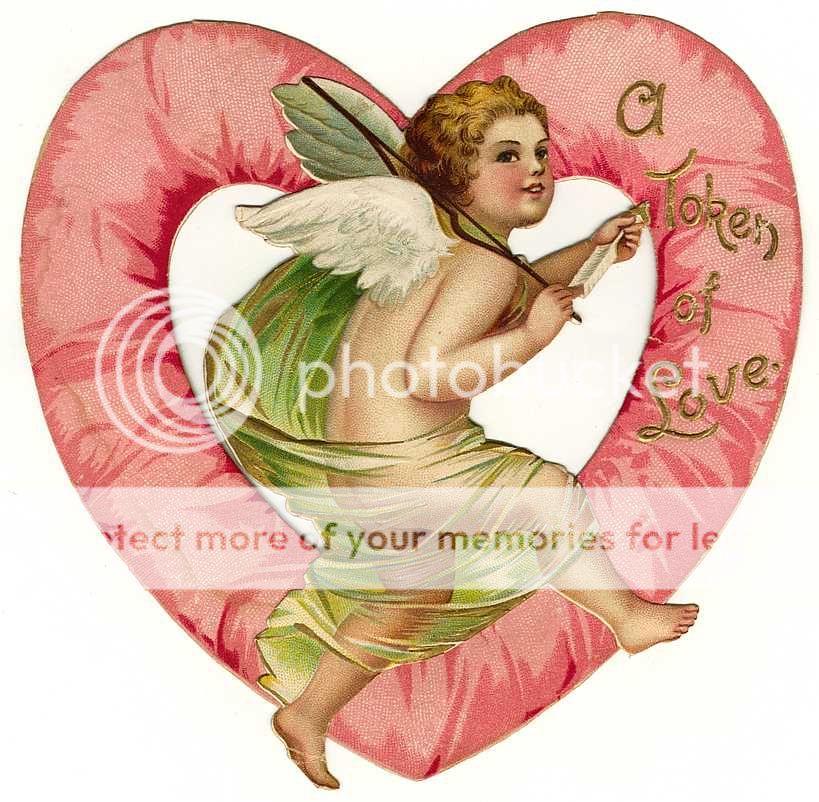
To have a chance to win it, please share this blog post on Facebook, and/or re-post to your own blog and leave me a message that you have done this. I also invite you to sign up here to receive my blog updates if you'd like to keep in the loop as to what I'm up to.
I will make the draw on March 3 and post the winner's name here. One entry per person, please. Those who have won before are welcome to enter again.
As always, I appreciate your interest in my art and my blog. Good luck everyone!
Joanna
Cool Digital Images From Retro Cafe Art
My artsy friend, Kristin Hubick, has a fantastic online art supply store called Retro Cafe Art. She carries a wide line of supplies for the mixed media artist and her prices are very reasonable.
Kristin and I have been online friends for about 10 years or so and met through the Ebay art group, VariaZioNE in the early 2000s. At the time, Kristin was making awesome art, working a regular job AND starting her fledgling online business. She now has a VERY successful online business and focuses on that solely (goodbye, regular job!).
In the following two mixed media/collage pieces, I have used Kristin's escutcheon plate digital images. I have a number of other digital images from Kristin's collection and they are always high quality. I'll share some of my other art pieces made with her supplies another time but for now, I hope you enjoy these two. If you visit her site be sure to tell her that her "Auntie B" (short for "Auntie Banana") sent you!
Cheers!
Joanna
![]() |
| "Goddess Of Light" Mixed Media/Collage Art With Recycled Materials |
![]() |
| "Dream Realms" Mixed Media/Collage Art With Recycled Materials |
FREE ST. PATRICK'S DAY VINTAGE IMAGES
Top o' the morning to you!
Continuing with my vintage freebies theme, you'll find here several cool vintage St. Patrick's Day images from my personal collection that you can use in your artsy adventures.
Just right-click your mouse on each image and save them to you own computer. Because they are in simple JPG format, you can resize them, crop them, alter them in photo-editing software, etc. They are in the public domain so you can use them for any kind of artsy endeavor, even art you plan to sell.
I hope you have fun with these quaint Victorian/Edwardian images. As always, I would love to see what you do with them!
Erin Go Bragh!
MORE FREE IMAGES TO DOWNLOAD
If you missed my post on January 13th, I included a few images that you are free to download to use for your own art. Here's the link to that post if you need it: Free Funky Images
Today, I have a few more for you to enjoy! These are scans of my original collage/mixed media work from between 2001 and 2009. All you have to do is right-click on each image and save them to your own computer. You can do with them what you want, all I ask is that if you use my images to create something you'll sell, that you acknowledge credit where it is due. Otherwise, you are free to play with them as you like.
I hope you have fun with these funky images. I'll be sharing some more in the coming weeks.
Cheers!
Joanna
FEBRUARY GIVEAWAY - ENTER TO WIN!!
Whew! So glad that January is done with. It has been long and cold and I, for one, am tired of it. What say we do another giveaway to brighten your day?
This month's prize will be another of my CDs from my collection. This one is for Volume 1 which has more than 3,000 vintage images of women, children, pets, etc., all from the Victorian/Edwardian time (both black and white and hand tinted). They come from the huge collection of vintage post cards I had years ago, which I spent several months scanning and sorting into collections that made sense from the user's perspective.
These are public domain images that you are welcome to use for all kinds of artful projects like art journaling, collage, mixed media, scrapbooking, card making and more! They are in simple jpg format on a CD so that you can easily load them into PhotoShop or other editing software.
To enter the draw, all you need to do is start following this blog and leave me a note here that you have done so. Easy peasy. Those who have entered my draws before are welcome to do so again.
I will make the draw on February 3 and post an announcement here.
Good luck. Here are a few sample images of the more than 3,000 (yes, you read that right) that are in this collection (most shown are hand tinted but there is a large assortment of black and white images as well in this collection).
FREE Funky Images For Your Art Projects!
Recently I have been trying to get a handle on my massive amount of computer files of images of my artwork, in particular the scans I use when selling my art online. Like my art supplies, they have gotten out of control! So I am going to purge them but before I do, I wanted to share some with you in case you'd like to use these funky images as part of your own art journal pages or wherever else they take you.
For the next while, I will post these simple JPG images here on my blog. All you have to do is right-click on each image and save them to your own computer. You are welcome to do whatever you like with them. If you do end up using them in something you sell, I would appreciate acknowledgement of the credit for the use of them, but otherwise, have at 'er!!
As always, I would LOVE to see what you create if you use these images. FYI, these and others I will post in the coming weeks are ALL from my original collage/mixed media art that I sold on Ebay and Etsy between about 2001 and 2009.
Enjoy!
Joanna
VINTAGE VALENTINE FREEBIES !!
About 12 years ago I began organizing my massive collection of vintage images so that they could be scanned and made into collections for collagists, mixed media people and scrapbookers to use in their art. It was a huge job but when it was all done, the collections (sold in simple JPG format and put on CDs) were very popular and it was rewarding to be able to share these wonderful old Victorian/Edwardian images with others.
I thought you might enjoy having a few of these images on a regular basis to use in your art today. So the plan is, at least once a month, I will post several images at a time for you to have. All you'll need to do is right-click on each image with your mouse and save it to your own computer. You can resize the images, crop them, alter them in Photoshop or another program or anything else you'd like to do with them. They are public domain images so you can use them even for items you sell.
Please note that the images do look a bit grainy. That is true to the original hardcopy they were scanned from. It was either the look that was popular in its day or perhaps it was the limit of the quality of their reproduction capabilities. Who knows. In any case, I love how they look and they truly do have an old style and feel to them.
I would love to see what you create with them, if you'd care to share.
Enjoy!
Joanna
Subscribe to:
Posts (Atom)


